OUR PRODUCTS
Rather than building a simple snowman at the summit of your hike, learn to build an igloo. A motivating goal for walkers of all ages, use it as a shelter for your tea break or as background for some original hiking photos!
Building an igloo is an interesting activity for all the family. Let your kids use their imagination and try different things with this fun and hands-on activity. With this activity your kid will find solutions as they build an actual size igloo. They will apply geometry concepts in the field to complete the igloo plan (diameter, radius, circle, etc.)
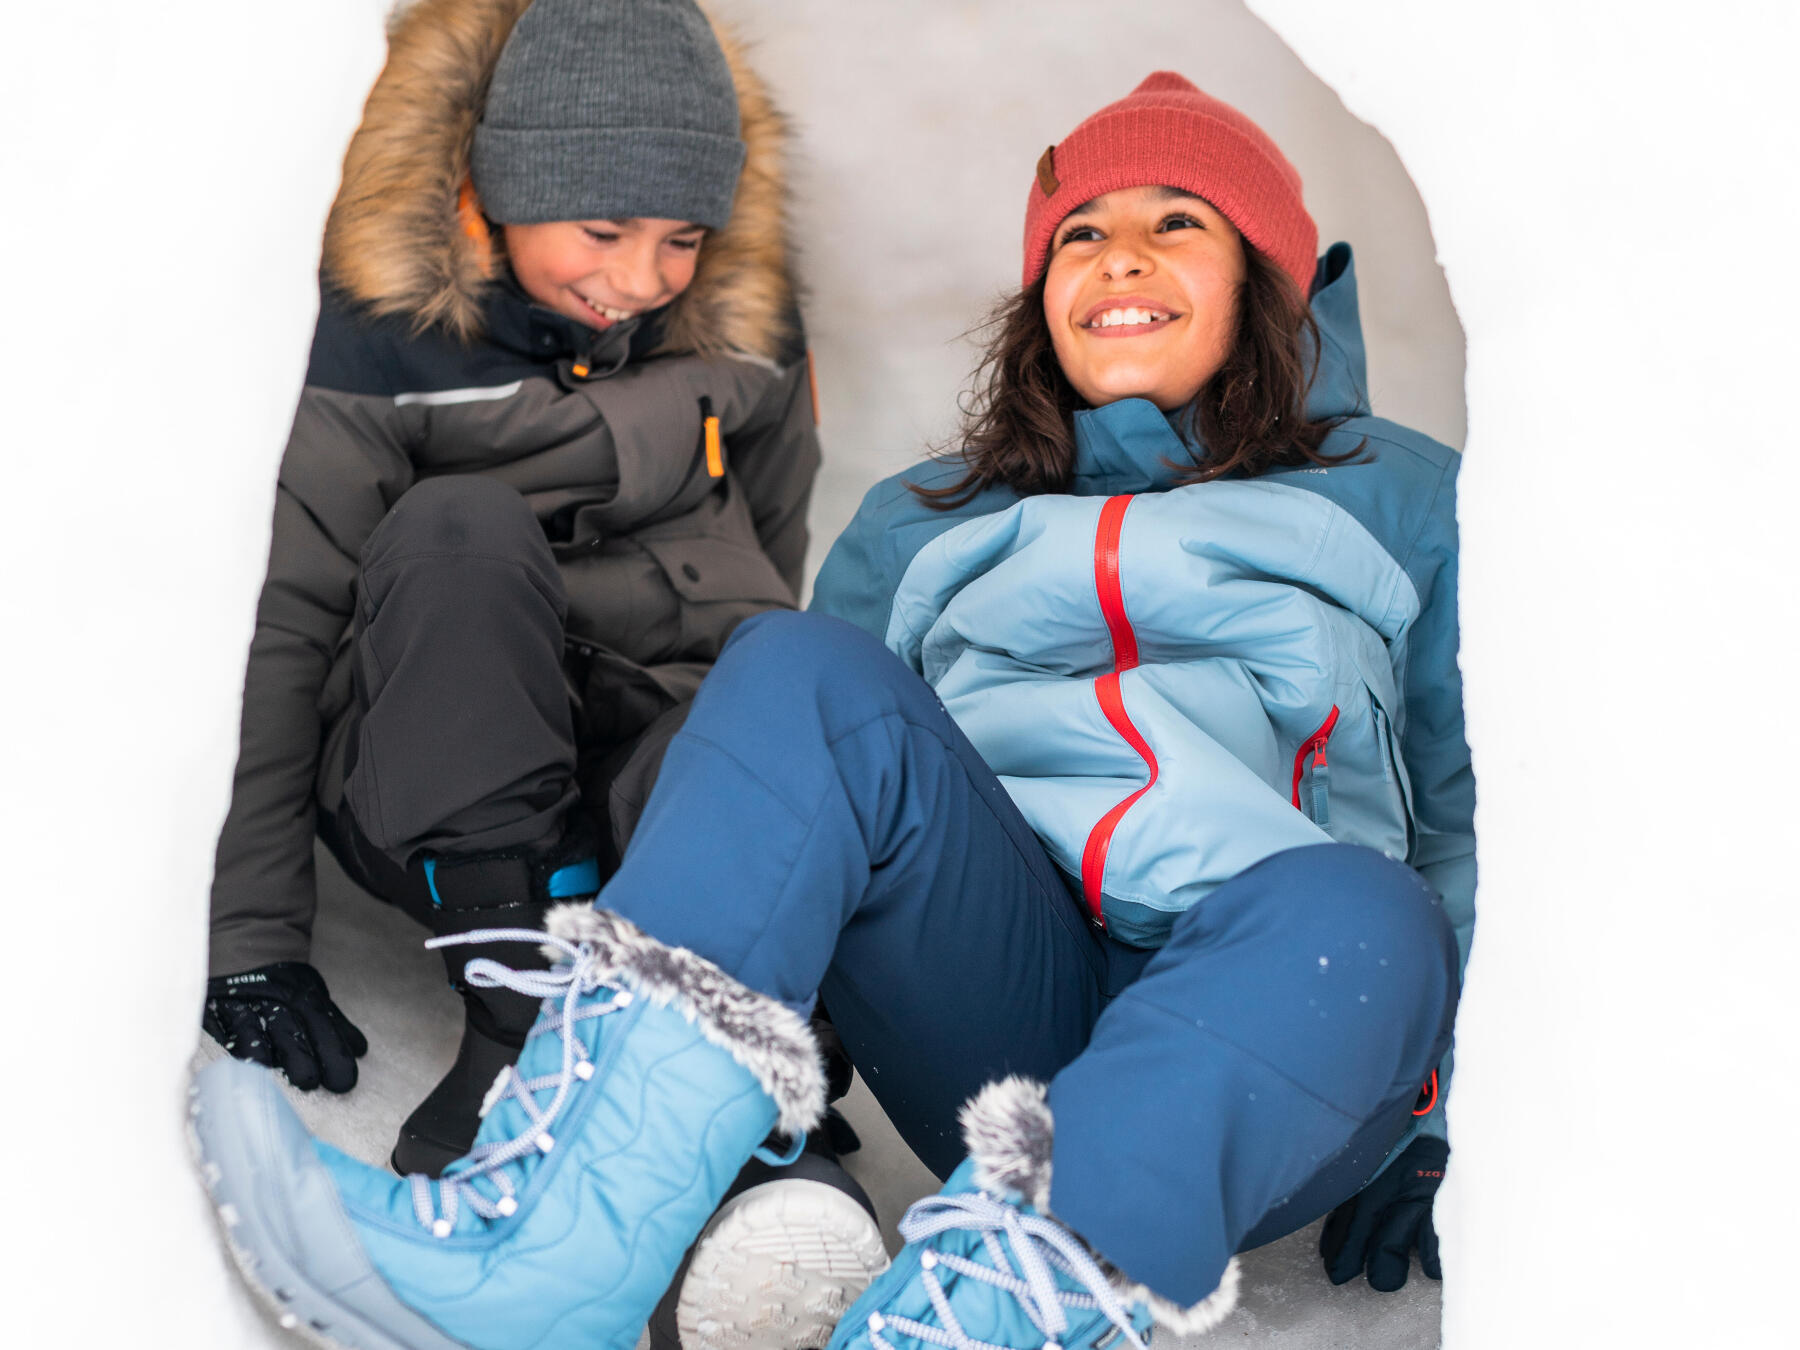
Remember to kit your kids out properly so they can make the most of this activity:
1 - Choose a sunny day as you will spend a few hours or even a full day outdoors to finish your igloo.
2 - Use the 3 layer technique wearing several layers so you can take one off during intense activity and put one on when static. The aim being to stay warm and dry all the time.
3 - Waterproof gloves, or at least water-repellent, are essential. It is not recommended to use woollen gloves that will soak up water.
4 - A pair of snow boots, also called après-ski, is recommended for this activity. Covering the foot and calf makes them perfect for this activity. What's more, they are generally very comfortable especially with liners.
A few rules are all that’s needed to make a solid snow igloo. To do this, first you need snow, lots of snow. It's important that the snow is fresh but sticky ideally. If it's too light then it will be difficult to compact the snow to make the bricks for the igloo structure.
There are two methods to doing this: the traditional method using blocks of snow, or the faster Russian igloo method.
Here is the key to making an igloo in 6 steps:
1 - Choose an area that’s flat or has a slight slope.
2 - Mark out a circle in the snow with a 2.5 m diameter.
3 - Dig down a few centimetres inside the circle to prepare the base.
4 - Have your shovel next to the igloo ready to cut and dig out 50 cm long snow blocks as wide as the shovel. You can also use plastic tubs: like those for sand castles, fill them with snow, pack and turn out.
5 - To build the walls, firstly arrange your snow blocks on the ground along the circle, tipping them slightly inwards. Then gradually stack them to end up with a dome-shaped roof. If there are a few of you, someone can stay inside the circle to maintain the structure throughout this step.
6 - Finally, dig the igloo entrance on the opposite side to the wind, plug the small holes between the blocks and smooth out the interior to avoid drops of water forming. Also remember to make small ventilation holes to let the air circulate and avoid CO2 poisoning.
1 - Find some flat ground.
2 - Stack several backpacks and duvets to create bulk.
3 - Cover the pile with a survival blanket or foam mattress.
4 - Cover everything with snow (30 to 40 cm thick) without packing it.
5 - Dig the door opening on the opposite side to the wind.
6 - Remove your pile of equipment through the door
- You need a lot of snow to make snow blocks.
- A plastic shovel to make the bricks, preferably plastic to avoid having to carry the weight of a shovel. It needs to be strong enough not to break.
- Around 3 metres of rope to mark out your prospective igloo plan like you would with a giant compass. You will need to pack the snow with your feet to visualise the circle on the ground before starting on the igloo structure.
- A snow saw, preferably with a plastic blade, to make the ice blocks and avoid injury. This will cut the snow blocks to build the igloo.
- Plastic tubs of similar sizes to use as a mould to make the ice bricks during the build.
- A suitable outfit for the weather conditions to keep you warm and your feet dry in the snow.
Be careful and make sure that kids are assisted by an adult to prevent snow blocks collapsing during the igloo build.
Did you know that it's derogatory to use the term Eskimo? It means "raw meat eater" in the Inuit language. It’s preferable to use the word Inuit which means "human".
Do you know what the word Igloo means? Quite simple, snow house.
Did you know that we owe the creation of the sledge to the Inuits? The sledge helped to transport animals and thick pelts after hunting. At the time, they were made from sections of birch wood attached together with deer skin. Young kids could also be transported as we do today in a pushchair.