HOW TO TAKE NIGHT PHOTOS?

Our tips for taking the most beautiful night pictures?

Capturing and sharing your most beautiful starry nights has always been your dream? Then let us guide you and follow our technical advice!

If you're reading this article it's because you like the mountains, hiking and getting away for a while with your bag and your tent.
You’ve probably also found yourself under a starry sky several times with the Milky Way above your head and wanted to capture the moment but
you’ve never known how to capture this nocturnal atmosphere with your camera.
This article is for you as we reveal the techniques!
Night and star photography, also called “astrophotography”, consists of photographing an outdoor nocturnal scene to emphasise the starry sky.
This requires some technical concepts that are easy to grasp and apply after a few attempts.

HOW TO TAKE NIGHT PHOTOS?

How to take a beautiful night photo?

Firstly, it's important to understand that not every nocturnal scene is necessarily ideal for capturing a starry sky.
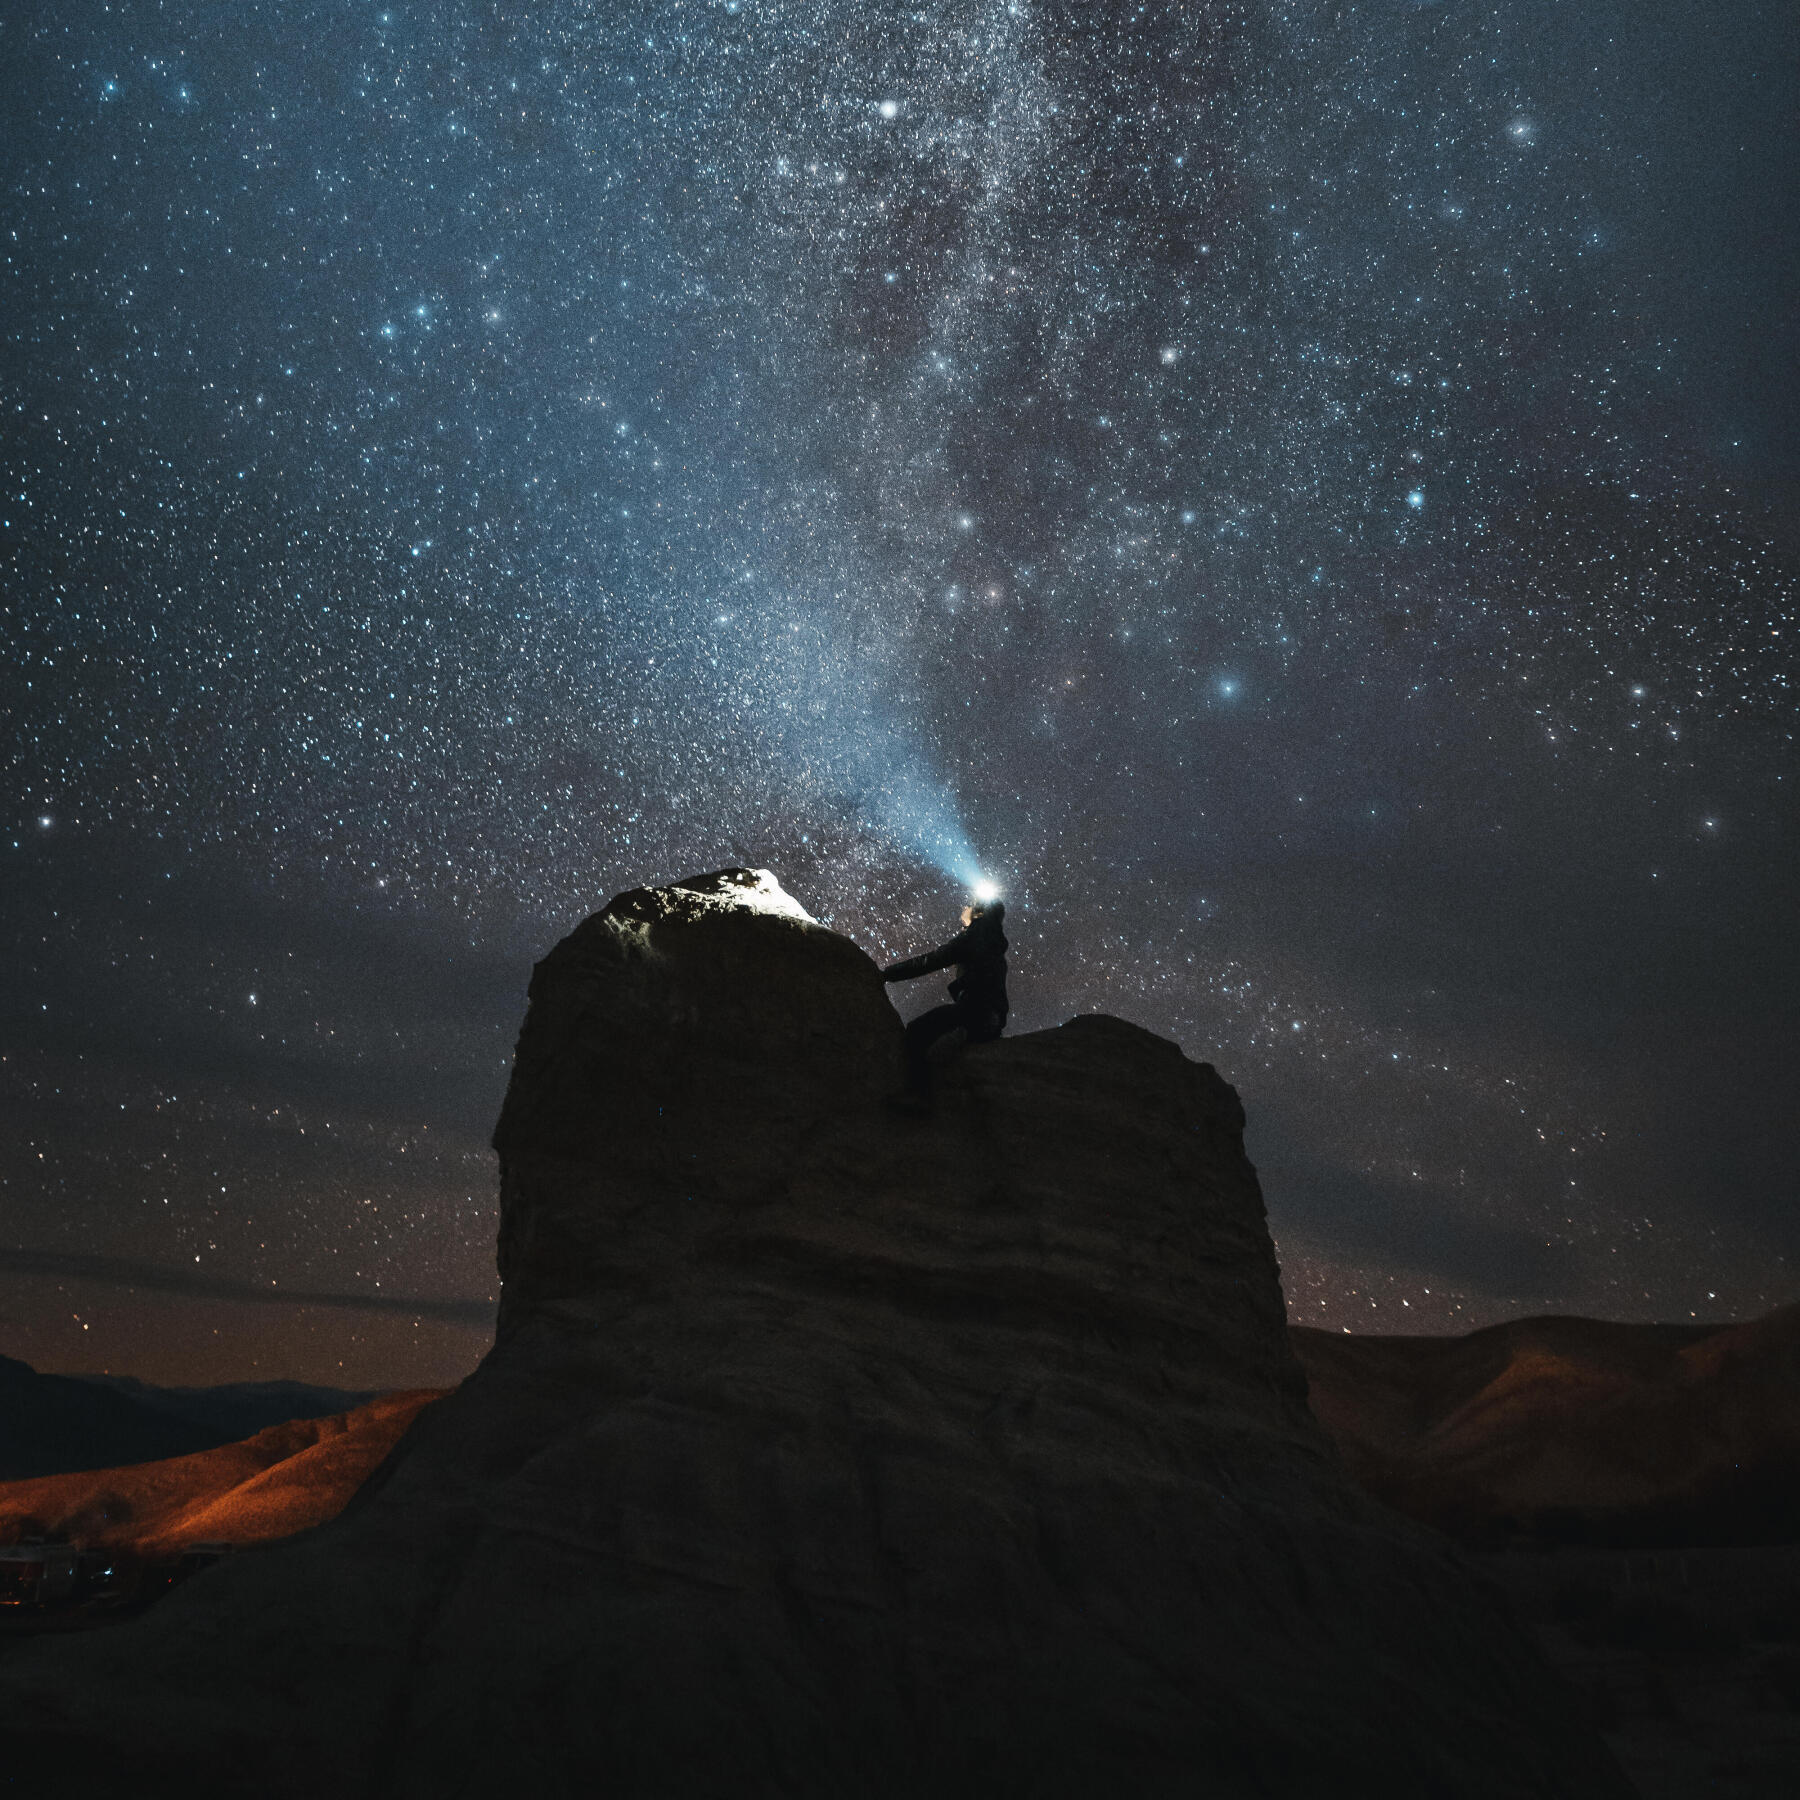
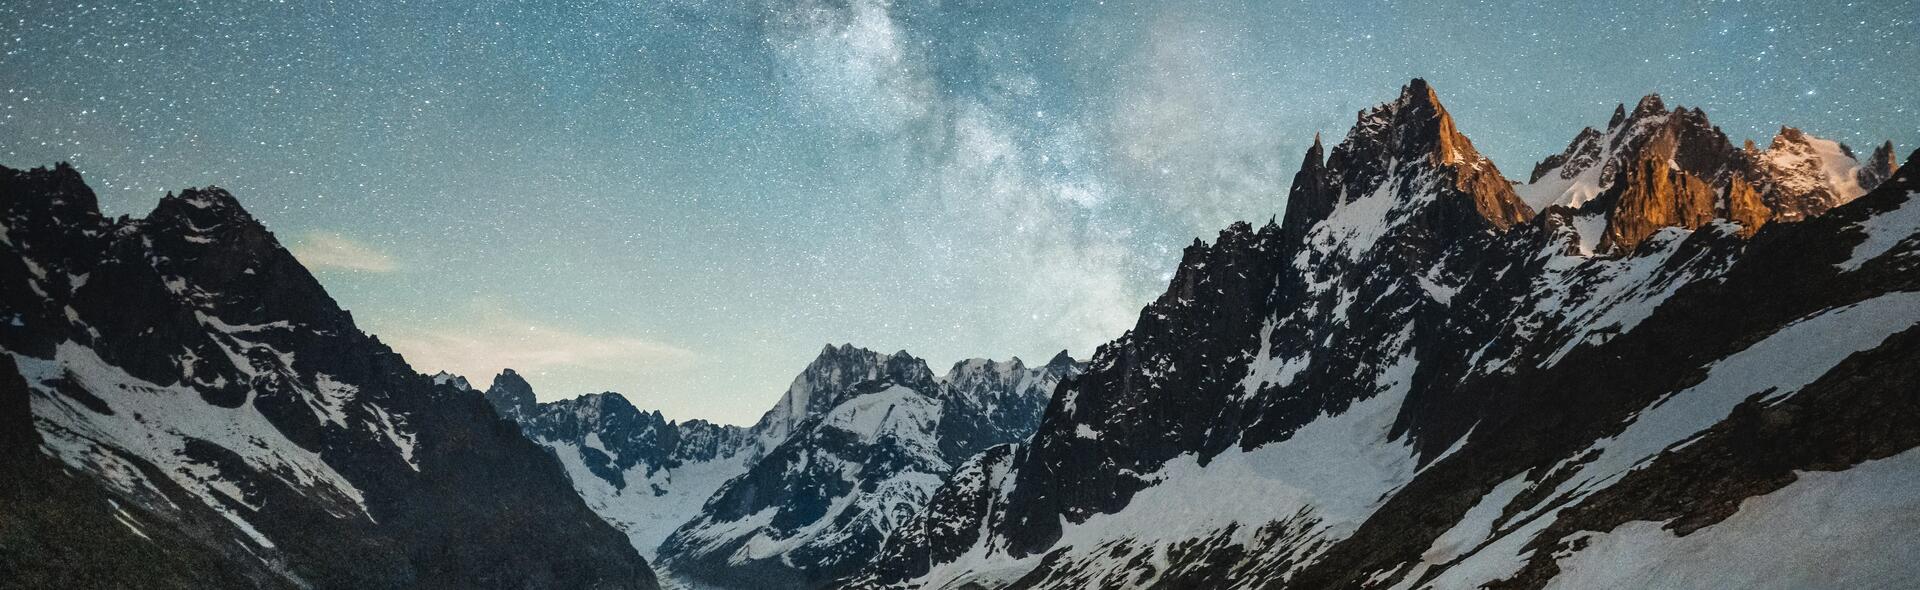
The night must be completely dark for the camera to pick up the low lights produced by the stars.
This means you have to distance yourself from urban areas as the light creates luminous pollution that overwhelms the stars.
The moon will also generate luminous pollution so make sure that it is set or that it is a “new moon” day.
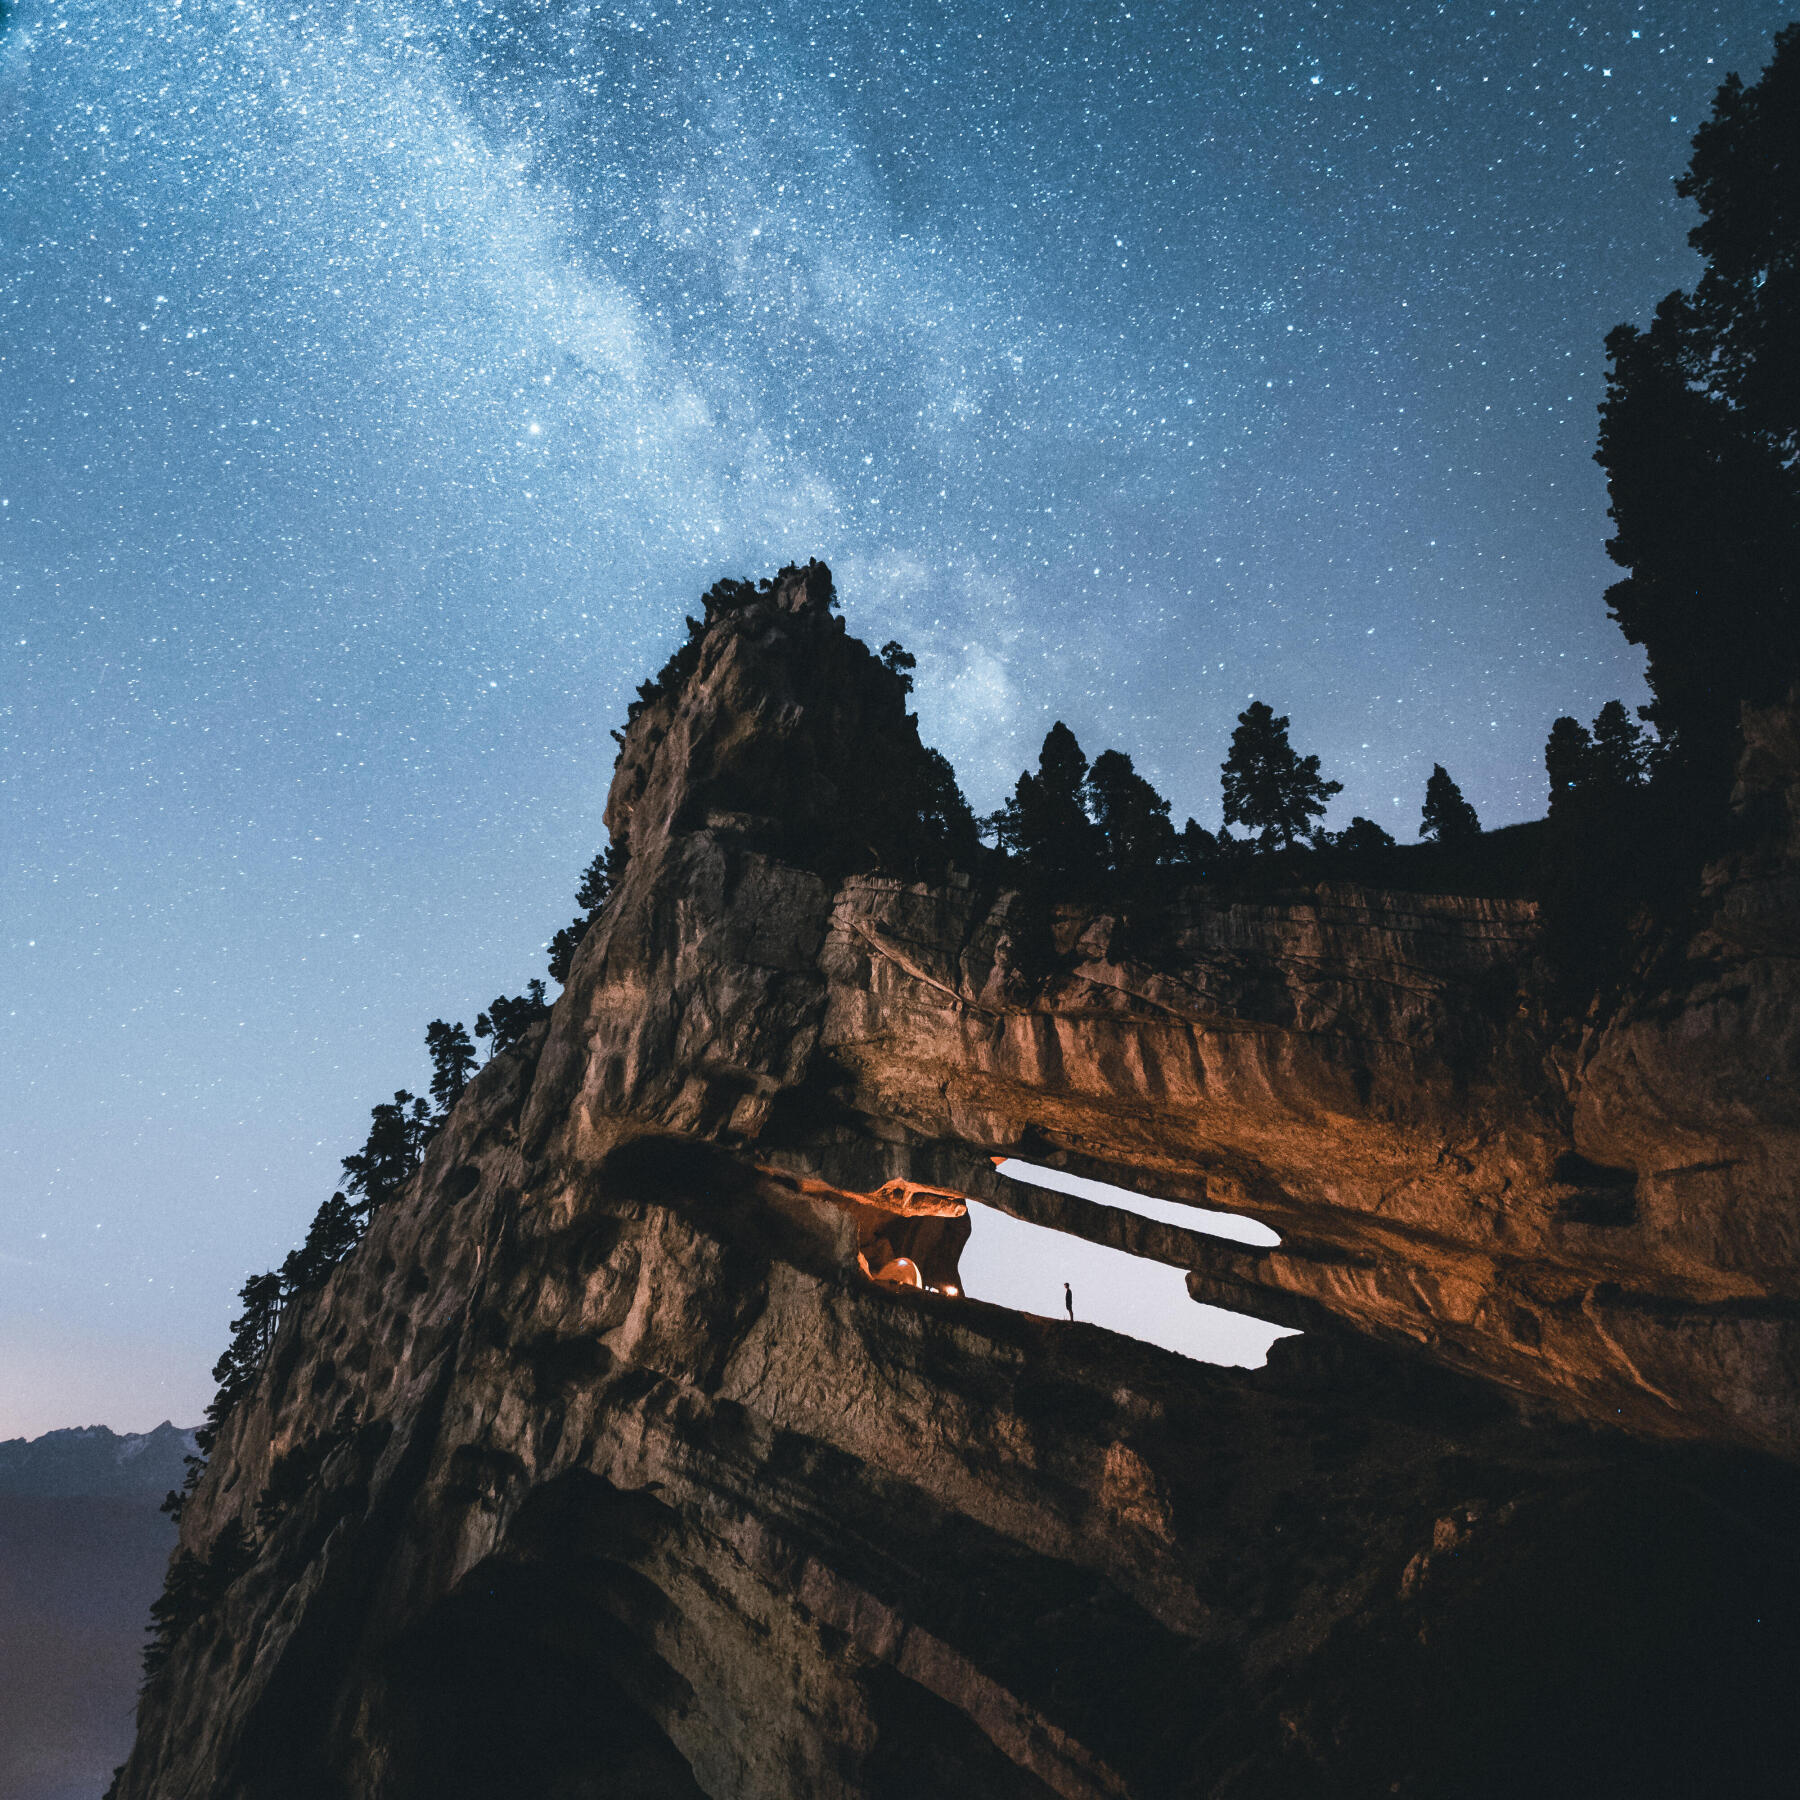
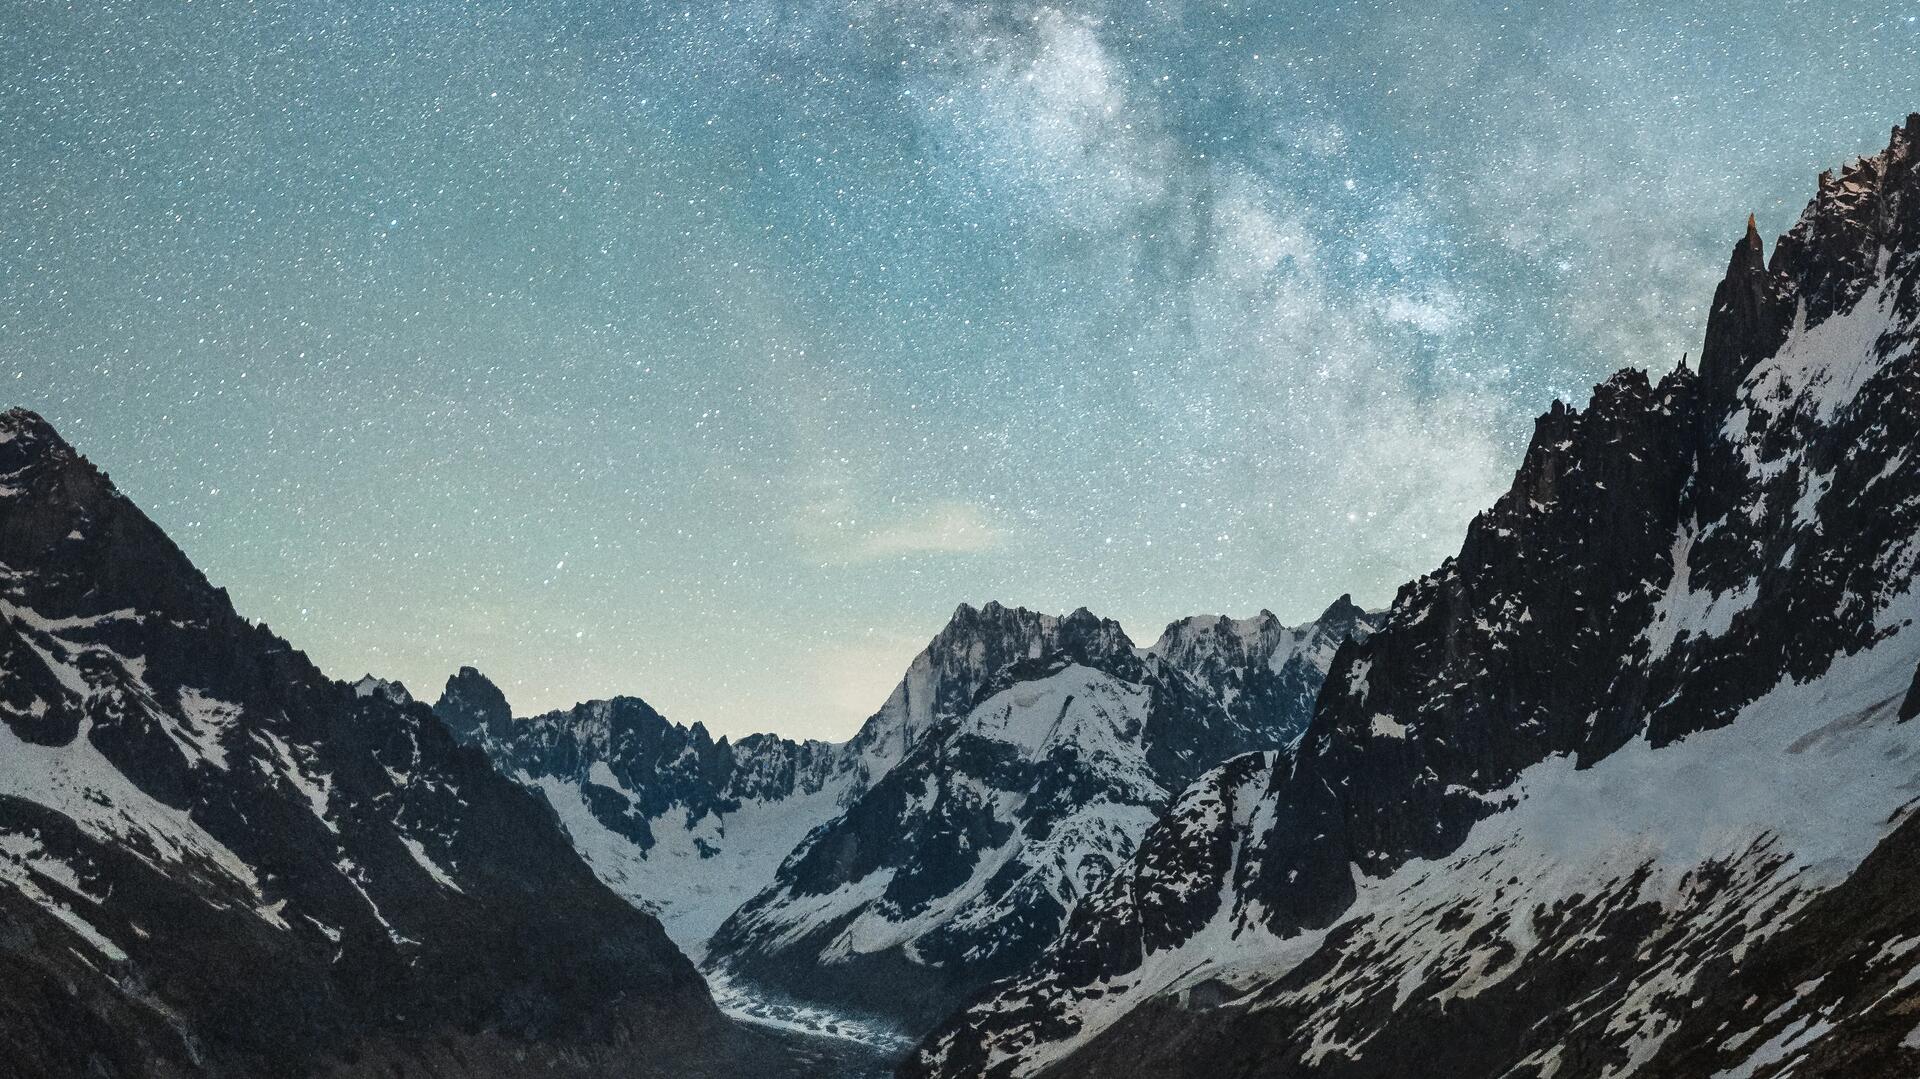
Once all these conditions are met, look for a dense trail of stars in the sky: this is the Milky Way.
For an ideal composition, it’s sometimes better to wait for the moment in the night where the Milky Way is in the right direction.
There are several practical tools for planning your night photo, in particular
applications such as SkyView, Star Walks or even more comprehensive for photography in general like PhotoPills.

HOW TO TAKE NIGHT PHOTOS?

What equipment should be used for taking night photos?

Leaving on a night photo trip without having properly thought about equipment can
prove to be frustrating.
You don't need to have an expensive professional camera to take a beautiful astrophotography picture. A camera with manual mode will do the job perfectly and even some recent phones have a manual/pro mode or night mode.

If you use a camera, use a wide angle with the smallest focal length possible (written in mm around the lens).
For smartphone enthusiasts, look for the manual mode in your camera app.
Otherwise, applications such as Lightroom give you access to settings in manual/pro mode.
The essential accessory is the tripod.
To capture as much light as possible, the camera must remain absolutely still.
Therefore get yourself a sturdy tripod with an attachment compatible with the camera or smartphone you're using.
You can also use some kind of support to rest the camera on: backpack, rock, etc.
When it comes to filters, these aren't needed in astrophotography.

A head torch can be useful, firstly to light up your subject to focus (described below) and why not have a subject that directs it towards the mountains or the sky to feed your photo composition.

HOW TO TAKE NIGHT PHOTOS?

What are the settings for a night photo?

Once you have the perfect conditions and the right equipment, it’s time to turn the attention to the technical settings.
Don't panic, it's better to understand each setting and its effect on the result rather than applying pre-defined settings.
The aperture size is the first setting to adjust, it is recognisable by a number preceded by an “f” and is a feature of the lens.
The lens should be open to the maximum to allow as much light through as possible.
To do this, select the lowest value given that the variable is inversely proportional to the aperture size.

The exposure time (or opening duration) is the second setting to adjust.
This is the length of time that the sensor will be exposed to the scene and therefore the time in which the photo is taken. The values are in seconds, for example 2”, 1/10, 1/125, etc.
In our case with a nocturnal atmosphere, the aim is to get as much light from the stars as possible so set a longer duration.
However, be careful not to have too long a duration so you don't see trails of stars on our photo: the starry sky moves slowly compared to the ground.
In theory, this maximum duration shouldn't go beyond the ratio “500/focal length of the lens”, however this is not always accurate and it's by
having several attempts at different values that you will find the limit.
Generally, for a wide angle, it's around 20” or 30”.

HOW TO TAKE NIGHT PHOTOS?

If the result is still dark despite the highest settings then you can adjust the sensor sensitivity.
This setting is recorded in ISO and compensates for the lack of light but at the same time creates texture/noise on the image.
Be careful not to increase it too much as too much texture could be difficult to correct in post-processing.

The sensitivity is more or less managed depending on the camera.
An entry level camera won’t go beyond 800 ISO without unsightly texture, however this setting can go up to 3,200 on medium range equipment.
On top end cameras, it can go above 10,000.

Another important setting: white balance.
This is a temperature measured in Kelvin (K) that calibrates the camera’s whites depending on the light sources.
This means the stars or the city lights can appear white.
To do this, detect your main light source (usually the stars but can be the moon, the city lights, a head torch, etc.) then take a test photo.
Then change the value to get a white light.
It is normally around 3800K but you can customise it to give a
warmer or colder atmosphere to the photo.

Finally, the last setting is the focus.
Unfortunately, for a dark scene you can't rely on your camera’s autofocus and you will need to use the focus in manual mode.
The aim is to focus on your subject or on the stars directly.
For the subject, the tip is to light it up using a head torch, adjust the focus with the appropriate ring on the lens to have a clear image and then take away the head torch.
If the shot is of the stars only then it’s a bit more complicated.
Focussing into infinity will not work: test out several focus settings with
different shots.
Some cameras offer focus assistance in manual mode: clear areas will appear in a certain colour.
For others, a few attempts and a little patience are needed.

Everything is ready, it’s time to take the photo. A few good practices to
remember. We recommend you add a 2 second timer to dispel any
camera vibrations when the shutter is pressed.
No good night photo was taken first time around. The key to success
is to adjust the setting depending on the results from the snapshot.

HOW TO TAKE NIGHT PHOTOS?

Some inspiration

Now you have all the tools and the knowledge in hand to take your first night photos, let's talk about the composition and some techniques and ideas that might inspire you.

Good placement of your subject is essential as the gaze will focus on this object/person.
We generally place it in the foreground which gives the photo scale or reference.
You can vary the subjects and let your creativity run wild: tent, person, vehicle, tree, etc.

As you will probably be in a mountain environment, think about using the peaks and the landscape which often comes out well on night photos.
This creates a background, or maybe even the subject, for your snapshot.
Placement of items gives balance to the photo.
There are rules such as the third rule which states that the main element should take up a third (or two thirds) of the image, (horizontally or vertically).
Of course, this is a simple rule and is also there to be broken.
Your head torch doesn't only light up the route during this night session.
It can also be used for “light painting”.
Use it during long exposure to draw in the air as you move around while always pointing the beam towards the camera.
You can draw shapes or even write letters or words for the more playful among you.

HOW TO TAKE NIGHT PHOTOS?

And there you have it

You have all the required knowledge at the tip of your fingers to take your night photos on your next mountain outing!
Share your best snapshots on instagram @quechua

Photo credits: Mathis Decroux. Graphics: Tanguy Keryhuel

Our tips for taking the most beautiful night pictures?

Cloé

Adventure lover

Spend a night under the stars - teaser

SPEND A NIGHT UNDER THE STARS

Do you dream of spending a night under the stars in the mountains? We don't blame you - it's a magical experience and the night of the falling stars is the perfect way to try out this new experience! Take a look at our tips for a good night's sleep under the stars (shooting or not)!

How to take beautiful photos in the mountains - title

How do you take beautiful photos in the mountains?

Landscapes, animals, hikers in action… there is no shortage of photo opportunities in the mountains. To ensure your snaps are as beautiful as possible, François - in charge of images at Quechua - will teach us the basics of mountain photography.

How to choose a sleeping bag

How do I choose my sleeping bag to sleep well while camping?

Your sleeping bag is your best partner for a good night's sleep. Discover our advices to choose the model which corresponds best to your expectations.

REGULATIONS GOVERNING WILD CAMPING

Regulations governing wild camping

Most people are unaware of the laws governing wild camping. Here is a quick guide for enjoying a night out in the French country without breaking the law.

15 good reasons to go camping and mountain hiking quechua decathlon

15 good reasons that will definitely convince you to go camping

It's summer, it's nice weather; conditions are perfect for spending a night in the mountains. Still not sure what to get? We'll give you 15 good reasons to go camping!

Preparing the first aid kit

How to prepare your first aid kit? What to put in it for a safe hike?

What should you put in a first-aid kit during a day hike or at night (with return to base camp every night), on not very remote trails?

How do I use my inflatable mattress?

How do I use my inflatable mattress?

Your inflatable mattress is very comfortable, so you can enjoy a good night's sleep and wake feeling great in the morning. However, it can get damaged if you don't take a few simple precautions before using it. So we advise you to follow a few rules to avoid any problems when you go off camping! Check out all our tips one by one: