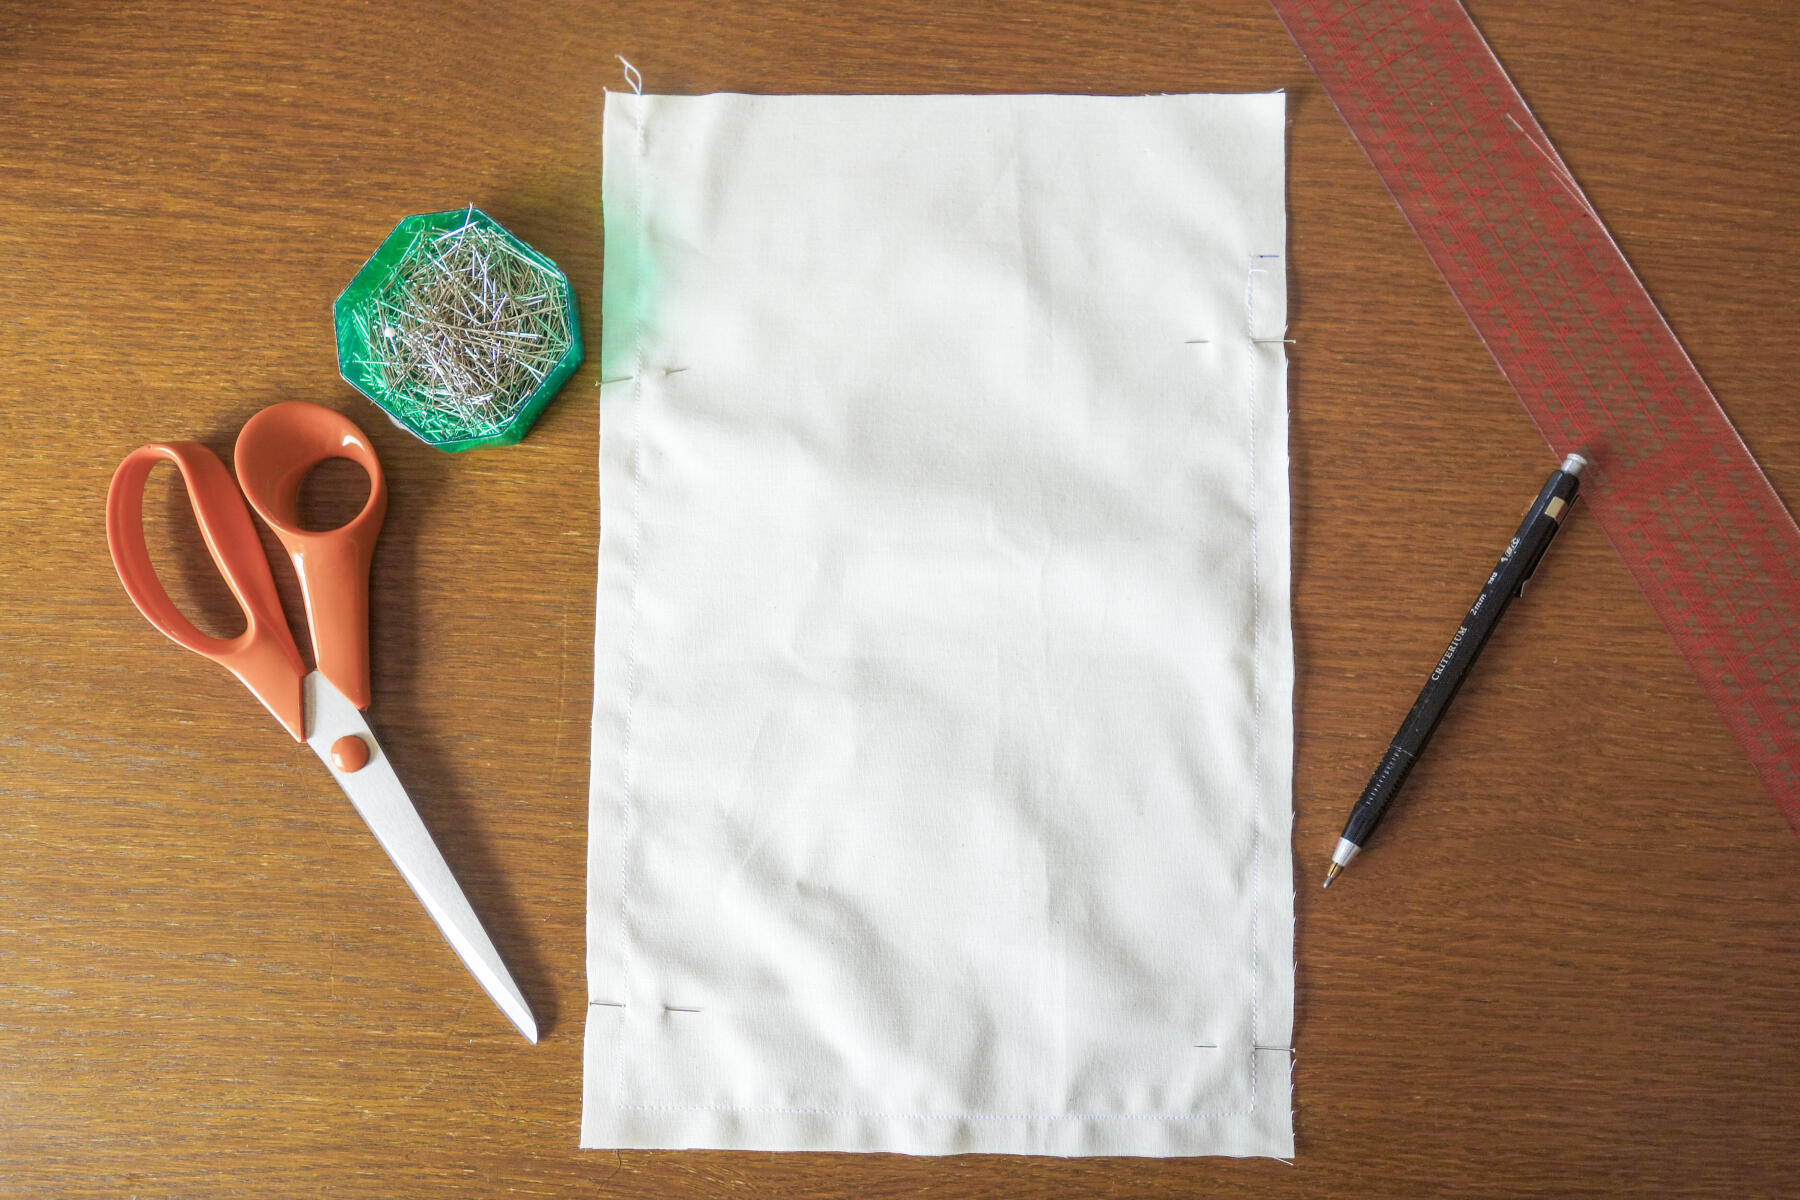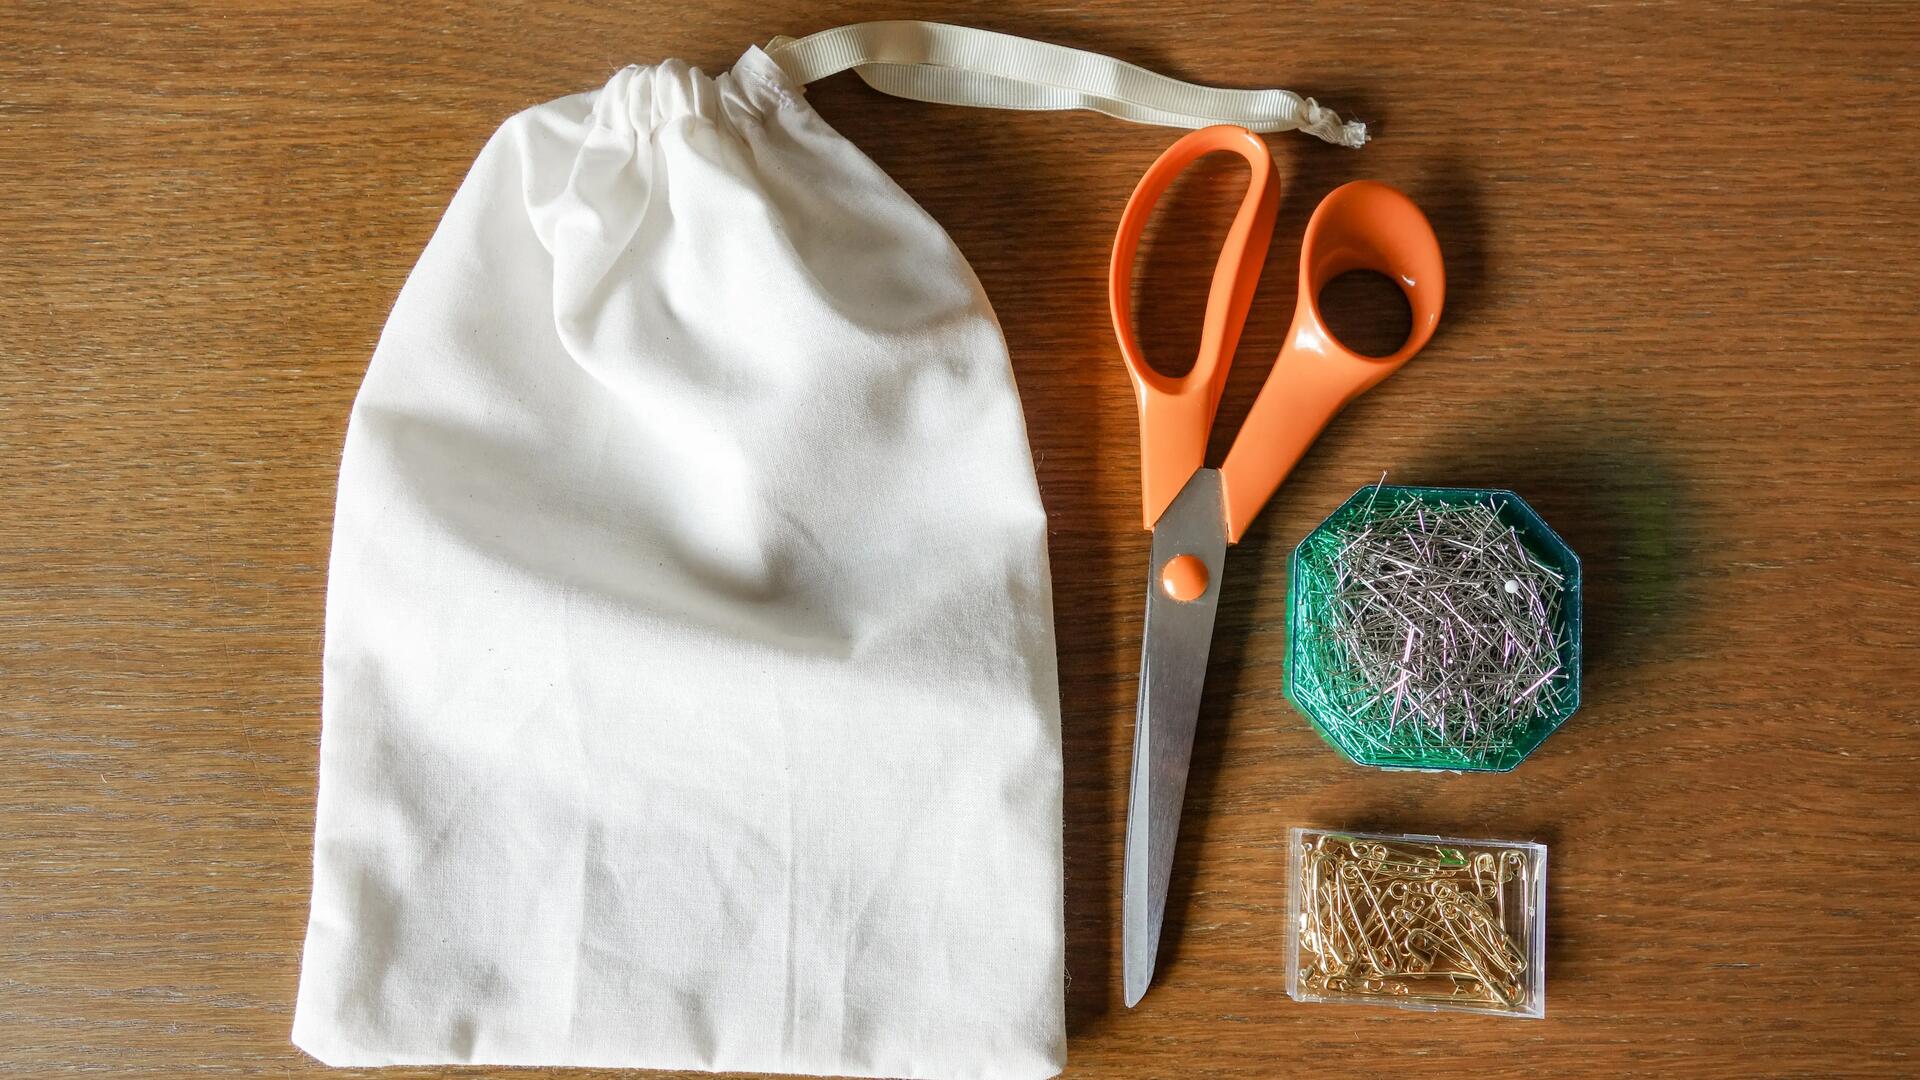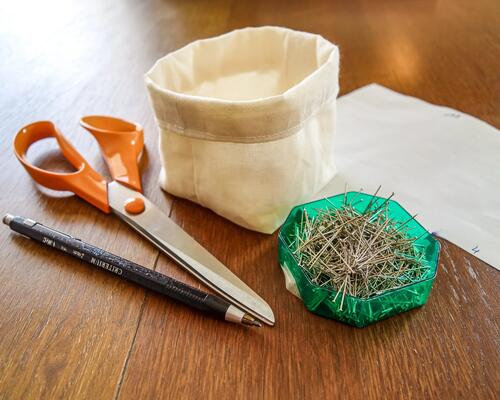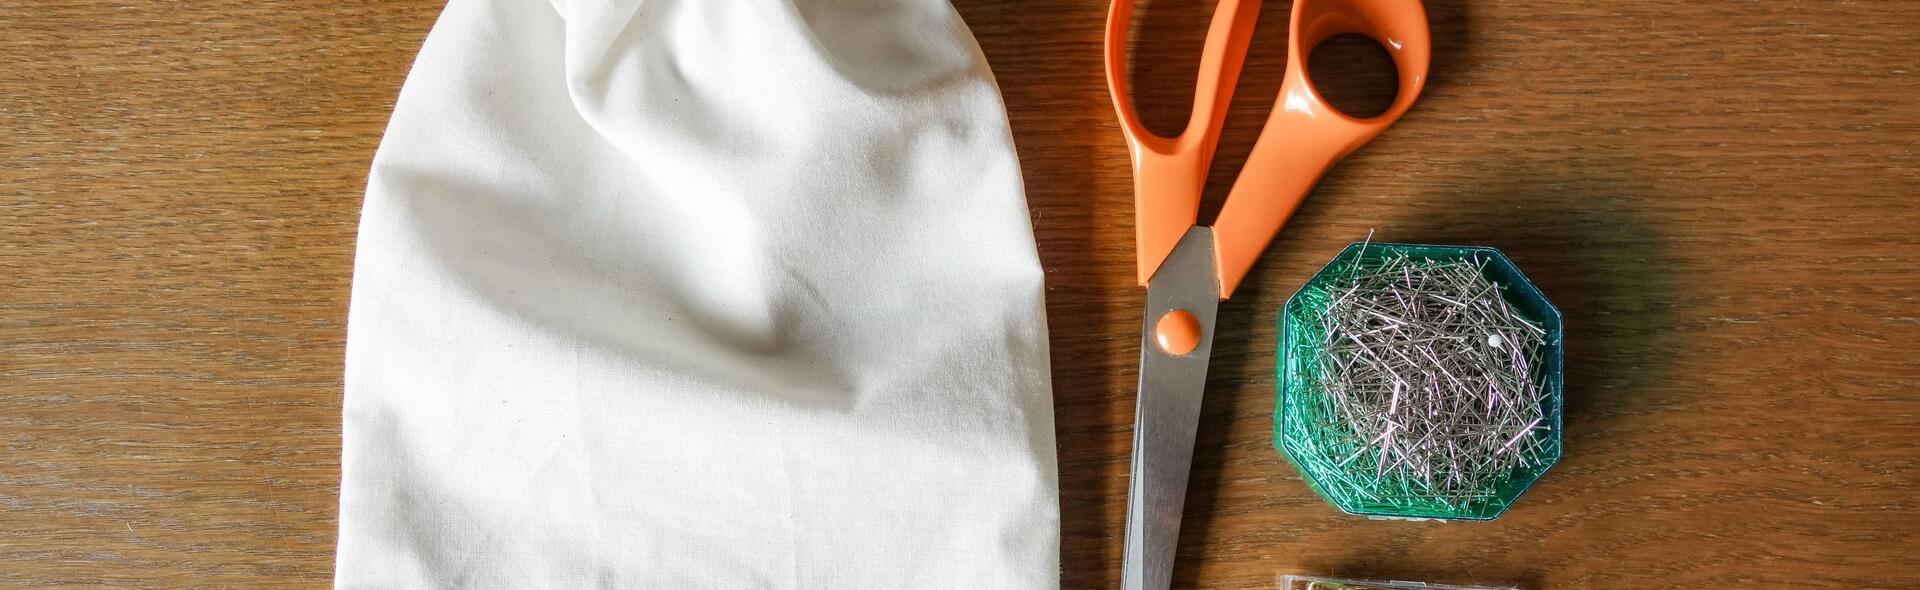
What material do you need to use to make a small pouch - bulk bag?
· Your used T-Shirt (or an old fleece if the fabric is not too thick, or even scraps of fabric)
· A sewing machine and thread (or needle and thread if sewing by hand)
· Fabric scissors
· A ruler
· Some paper and a pencil
· A fabric pencil or chalk (even a simple felt-tip pen)
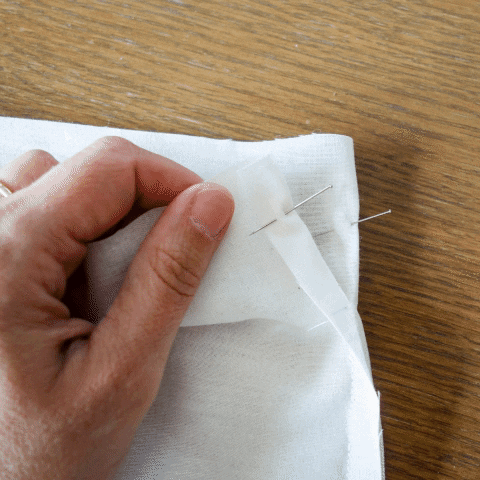
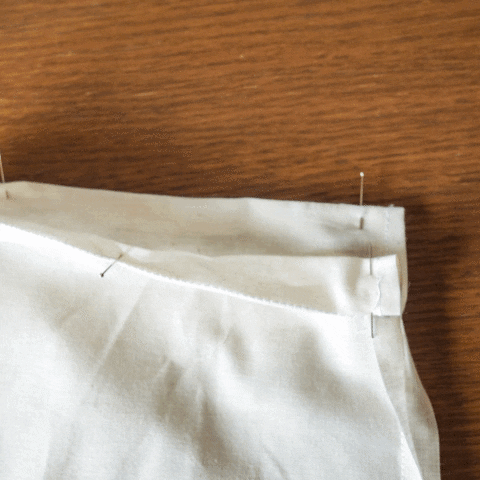
· Some pins
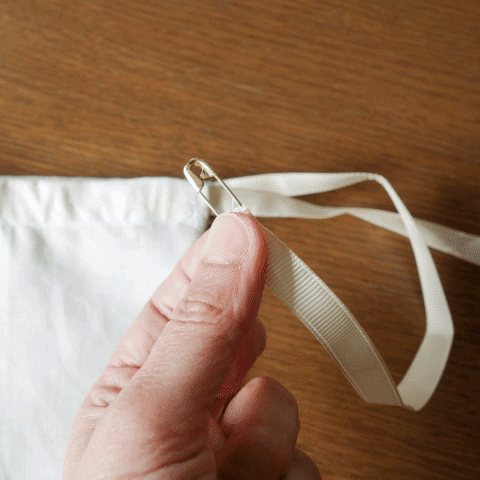
· A safety pin
· Ribbon, cord